ServicesSolar Panel Installation
Solar Panel Installation in West Jordan
We design and install roof-mounted solar arrays on shingle and standing-seam metal roofs: flashed attachments into the rafters, rails laid out around vents and setbacks, conduit to your inverter and main panel, and a permitted, inspected system. You get a written layout, clear production numbers and photos of every component before it goes live.
What a roof-mounted array does for your home
A roof-mounted array sits a few inches above your roof on aluminum rails, using space your home already has. We place panels on the planes with the best sun, keep them clear of vents and the setbacks fire code requires, and fasten every mount into a rafter so the system carries the snow and wind loads this part of the Salt Lake Valley sees each winter.
It is the right call when your roof has good southern, eastern or western exposure, little shade and years of life left. We start with a free virtual appointment, look at your roof on satellite and your past utility bills, and tell you plainly whether the space and the numbers work. If they do not, we say so.
We also keep a record of the finished system: serial numbers, photos and the as-built drawing. If hail or a falling limb ever damages the array, you will have the documentation an insurance adjuster asks for, and we can explain how a solar claim usually moves. Your insurer makes the coverage decision, not us.
What the installation includes
Roof, attic and shade check
We check the age and condition of your shingles or metal panels, look in the attic at rafter size and spacing, and map shade from trees and neighboring structures through the seasons. That sets the array size and where it goes.
Flashed attachments and rails
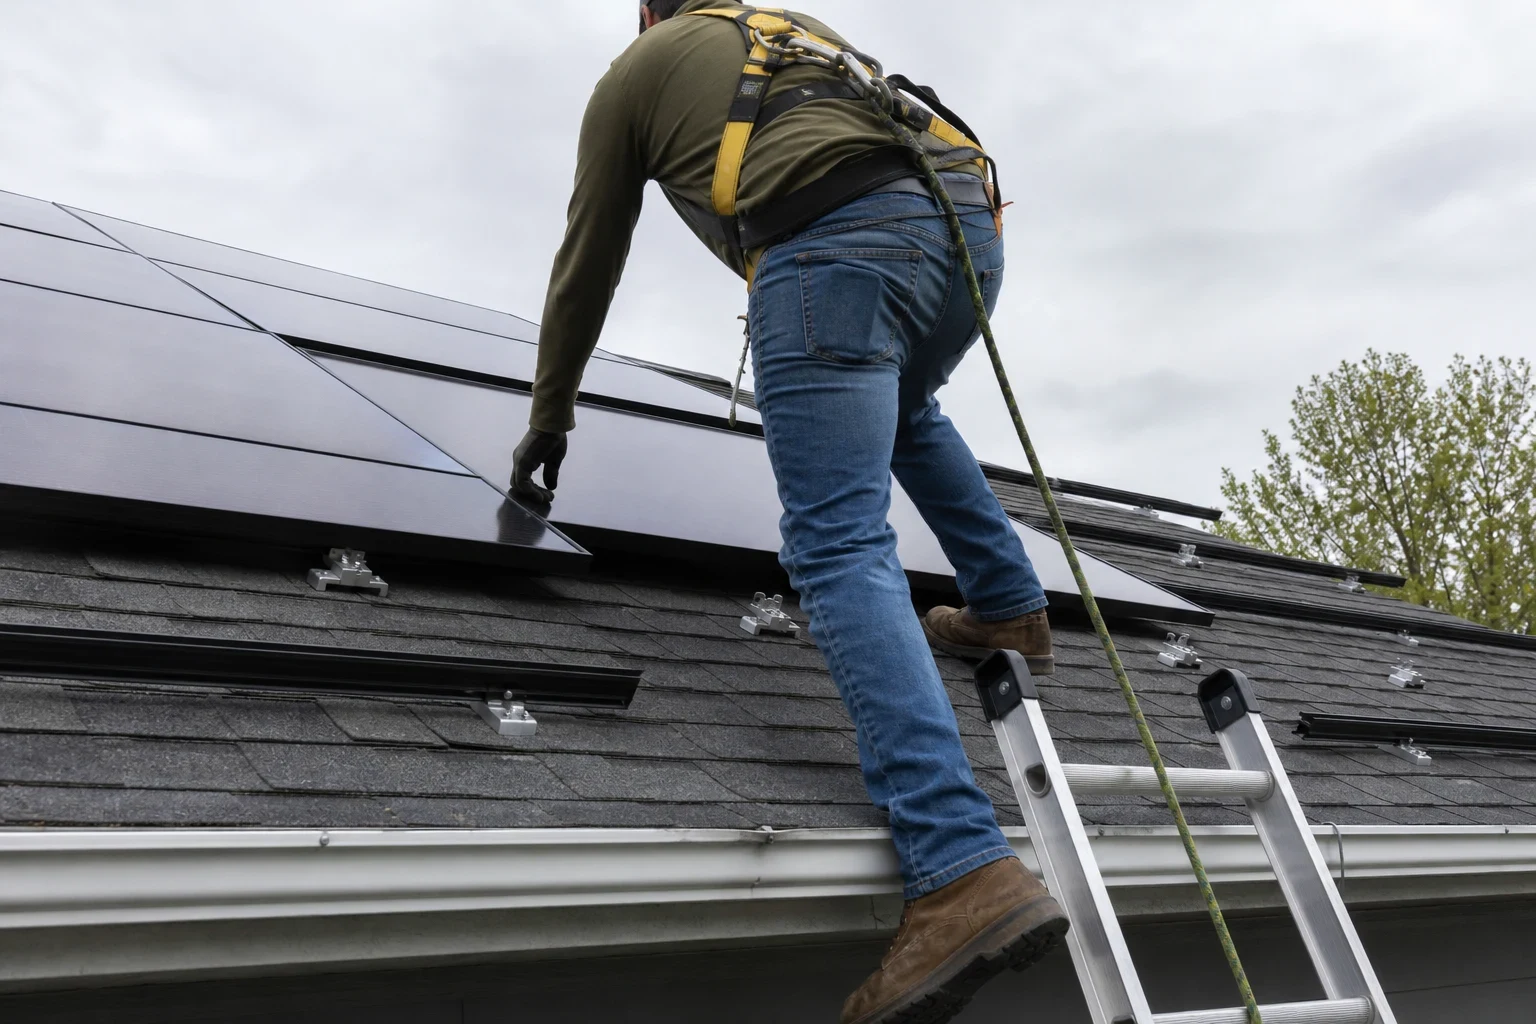
On shingle roofs each mount is lagged into a rafter and sealed under flashing. On standing-seam metal we clamp to the seams without drilling. Rails are laid out around vents, skylights and code setbacks.
Conduit to the inverter and panel
We run wiring in rated conduit from the array to the inverter and main panel, routed neatly along the roofline and down the wall, or through the attic where the layout allows.
Inverter, disconnects and panel work
We install the inverter or microinverters, the required AC and DC disconnects and the breaker or line-side tap at your main panel, labeled the way inspectors expect.
Permits, inspection and interconnection
We pull the building and electrical permits, meet the inspector on site and handle the utility interconnection application so your meter is set up for export.
Commissioning records
You receive photos, serial numbers and a one-line diagram of the finished system. Those records make warranty and insurance conversations much simpler later.
Signs a roof-mounted system fits your home
Summer bills climb every year
Air conditioning drives the biggest usage months, which line up with the strongest sun. An array sized to that load offsets the expensive part of the year.
Your roof gets steady sun
A roof plane facing south, east or west with little shade from trees or neighbors is the main requirement. The more open the sky, the smaller the array needs to be.
An EV or heat pump is on the way
Adding a car charger or electric heating can raise annual usage sharply. We can lay out the array with room on the roof for extra panels later.
Your roof has years left
Panels stay up for decades, so a roof in good shape is the best base. If yours is close to replacement, we tell you before we design anything.
How the job runs, start to finish
- 1
Free virtual appointment
We review your utility bills and a satellite view of your property, then walk you through array size, estimated production and how $0 up front works for your home.
- 2
Site visit and design
A technician checks your roof, attic framing, distances and panel location. Our designer produces a stamped layout and the electrical plan for the permit.
- 3
Attachments and racking
The crew locates rafters, installs flashed mounts or seam clamps and sets the rails. Landscaping below the work area is protected and left as we found it.
- 4
Panels, wiring and inspection
Modules are mounted and wired, conduit is run to the inverter and main panel, and the city inspector signs off. The roof and yard are cleared of offcuts before we leave.
- 5
Utility approval and turn-on
Once the utility approves interconnection we commission the system, test each string and hand you the full photo and serial-number record.
What moves the price of a roof-mounted array
Every array is priced from its own design, and each part appears as a line on a written estimate. Most of the difference between two homes comes from the size of the system and the roof it goes on. If a line on the estimate is unclear, ask and we will explain it.
- System size
- Panel count follows your annual usage. More kilowatts means more modules, more racking and more inverter capacity.
- Roof type and condition
- Standing-seam metal uses clamps on the seams, while shingle roofs need a flashed mount at each rafter. Steep pitches or worn shingles that need repair first add labor.
- Conduit run distance
- A longer run from the array to the inverter and main panel means more conduit and sometimes a heavier wire gauge to keep voltage drop in check.
- Main panel condition
- If your service panel is dated or has no open breaker space, the solar circuit may have to connect ahead of the main breaker, or the panel may need replacing first. We check this early so it shows on the estimate, not as a surprise.
- Equipment choices
- Module efficiency, microinverters versus a string inverter and any added battery storage all change the total.
Solar panel installation questions
Something not covered here? (801) 346-0573
Will mounting panels cause roof leaks?
Each attachment on a shingle roof goes into a rafter and sits under flashing that sheds water the same way your shingles do. On standing-seam metal we clamp to the seams, so the roof is not drilled at all.
How much roof space does a system need?
It depends on your usage, but panels need room on sunny roof planes plus the setbacks fire code requires along ridges and edges. During the virtual appointment we sketch the layout on your roof so you can see where panels go before deciding.
Who handles the permits and inspection?
We do. Our company is licensed in all states served, and every roof-mounted system we build goes through the local permit and electrical inspection before it is energized. You do not have to deal with the city or the utility yourself.
Will my homeowners insurance cover the array?
Many policies cover a roof-mounted array as part of the house, but terms vary by insurer. We give you the equipment list, photos and value so you can add it to your policy, and we can explain what a typical claim needs. Your agent confirms the actual coverage.
How long until the system is producing?
The physical build usually takes a few days on site. Permits, inspection and utility interconnection set the overall timeline, and we keep you updated at each step rather than guessing at a date.
See what a roof array could produce at your home
Bring a recent utility bill to a free virtual appointment and we will show you a layout, a production estimate and what $0 up front looks like for your property. No site visit is needed to get started.